Tutorial Write-Up Blog Post Assignment
Ryan Chandler, IT210B
How can JSP be used to connect to a MySQL database?
How do I set up Tomcat and MySQL on Linux?
Introduction
If you are looking to retrieve and store images, add login/logout functionality, or remove content for your website, knowing what JSP and MySQL are and how they work will be incredibly helpful! For this tutorial, you will explore JSP, MySQL, and Tomcat - what they are, how each works, and how to set them up. You will also understand some common issues that occur during the process of implementing each of them.
For reference, let’s discuss briefly what each of these tools are.
JSP - Java Server Pages. JSP is a technology created by Sun Microsystems that allows Java to be run on a server. Because Java is one of the most widely used programming languages in the world, it can add familiarity to the experience of programming on a server. It can be used on HTML web pages to create dynamic experiences
MySQL - an open-source relational database. MySQL databases are commonly used to store textual information that must be accessed frequently. The information is accessed using SQL query statements that ask the database for the necessary information. Because the data is stored relationally, there is a lot of flexibility to be able to manipulate and access or save information where and when you need it.
Tomcat - a web server. Apache Tomcat is the brains that makes up your server. It is configured to be able to run JSP-programmed pages, so therefore it will work perfectly as our server software. The Tomcat server is where your actual JSP pages will be stored and run from.
Each of these tools will work together to create a seamless experience for users of your website. Tomcat will run your JSP pages, which will have access to your MySQL database information.
You will first go over how to set up an Apache Tomcat server. You will then set up a MySQL database. Finally, you will learn a bit of JSP syntax, focusing on how to connect your webpages to your MySQL database. This tutorial will be using a Linux Ubuntu operating system to perform these tasks.
Tutorial
Part 1: Setting up your Tomcat server
Much of setting up your Tomcat server will be done through the Linux terminal. We’ll begin by installing necessary pieces of information. First, let’s make sure your installer is updated properly by typing into your terminal:
sudo apt-get update
Pressing enter will update your apt-get, which will serve as the installer for all the packages you will have to install. Once that is finished, continue by installing the rest of the necessary drivers with these commands:
sudo apt-get install tomcat6
sudo apt-get install tomcat6-admin
sudo apt-get install tomcat6-user
You may have to type a ‘Y’ into your terminal to approve the installation of your Tomcat server. After these have finished installing, you have the core to your Tomcat server running! In order to make your server compatible with your JSP pages later, you’ll now need to make sure your server is configured for the version of Java you currently have installed. Do this by running the command in your terminal:
java -version
If java is not installed, you can install the latest version here. If it is installed, something like this should pop up:
Java version “1.6.0_20”
Remember this version number! Copy and paste it somewhere if you have to. In order to make sure that you have a current version of Java, go ahead and type in this command:
sudo apt-get install openjdk-6-jdk
Tomcat needs to know where you just installed your Java (Otherwise when it tries to run your JSP pages it will be looking for the instructions in the wrong place!), so you will need to change a configuration file for your tomcat server. This file can be opened by typing:
sudo vim /etc/default/tomcat6
This will open up your configuration file for tomcat. Press the letter ‘i’ to edit text, and find the line that looks like this:
#JAVA_HOME=/usr/lib/jvm/openjdk-6-jdk
and change it to this:
JAVA_HOME=/usr/lib/jvm/java-6-openjdk
Press esc on your keyboard, then type :wq and press enter to save the changes made to the file. Congratulations, your Tomcat server is now configured to run your Java pages! Next we have to configure it to allow access to the MySQL database you will set up. Start by opening another Tomcat configuration file:
sudo vim /etc/tomcat6/policy.d/03catalina.policy
In order to allow access to MySQL, add these lines to the very end of the file:
grant {
permission java.net.AllPermission;
permission java.net.SocketPermission “localhost:3306”, “connect”;
};
As you can see from reading the code, you are giving permission for Tomcat to access different things, in this case access to your MySQL database. Finally, your Tomcat server needs to have access to a .jar file. The file can be found here. Pick a place to save the file. Back in the terminal, get to the directory your .jar file resides and copy it into the directory it is required for Tomcat:
cd /[filepath where the .jar file is]/[folder]
sudo cp -r mysql-connector-java-5.[tab key] /usr/share/tomcat6/lib/
In order to make all these configurations apply to the Tomcat server, the server must be rebooted. This can also be done in the terminal:
sudo /etc/init.d/tomcat6 restart
Make sure everything is working by typing http://localhost:8080 into your favorite web browser. If something like Figure 1 shows up, congratulations! Your Tomcat server is now live!
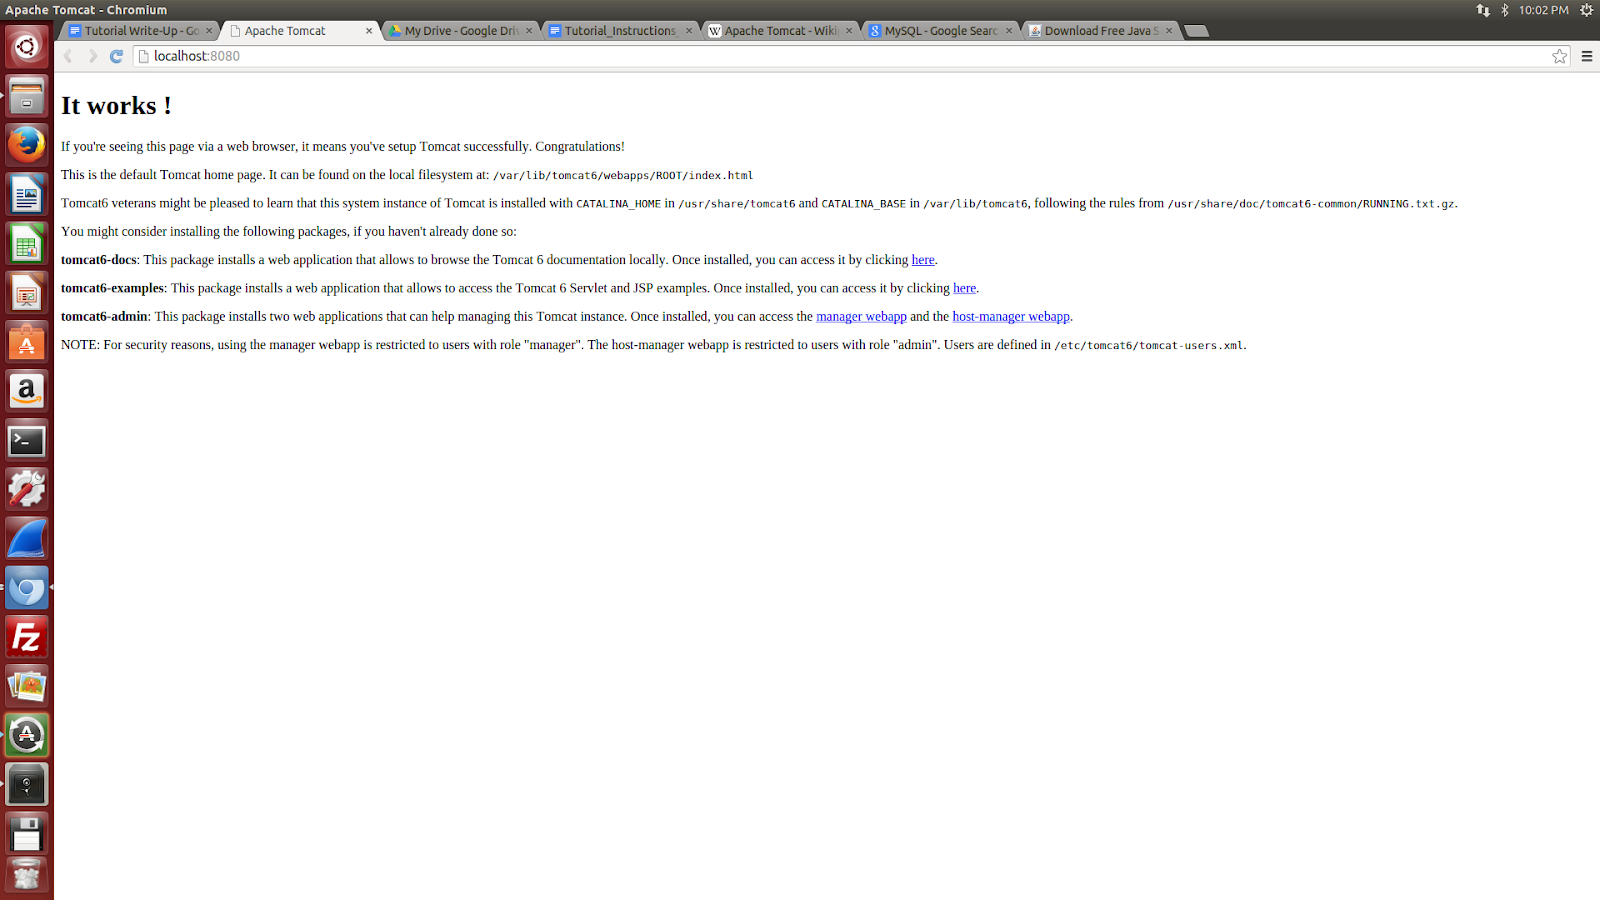
Figure 1: Tomcat default page. It works!
Part 2: Setting up a MySQL database
Now that Tomcat is running, a MySQL database is required for us to connect to! Setting up a MySQL database is very similar to creating your Tomcat server. This time, tasksel will be the tool used to install the needed packages. Type sudo tasksel into the terminal. For the purposes of this tutorial you will only need to install the OpenSSH server, the LAMP server, and the Print server. When prompted, type in a password for your MySQL “root” user. You will use this password often, so don’t forget it!
To install the remaining packages, use the apt-get commandused earlier:
sudo apt-get install phpmyadmin
sudo apt-get install mysql-client
sudo apt-get install libapache2-mod-auth-mysql
To check and make sure our MySQL database is working correctly, type http://localhost/phpmyadmin into your favorite web browser. If something akin to Figure 2 pops up, the installation was successful!
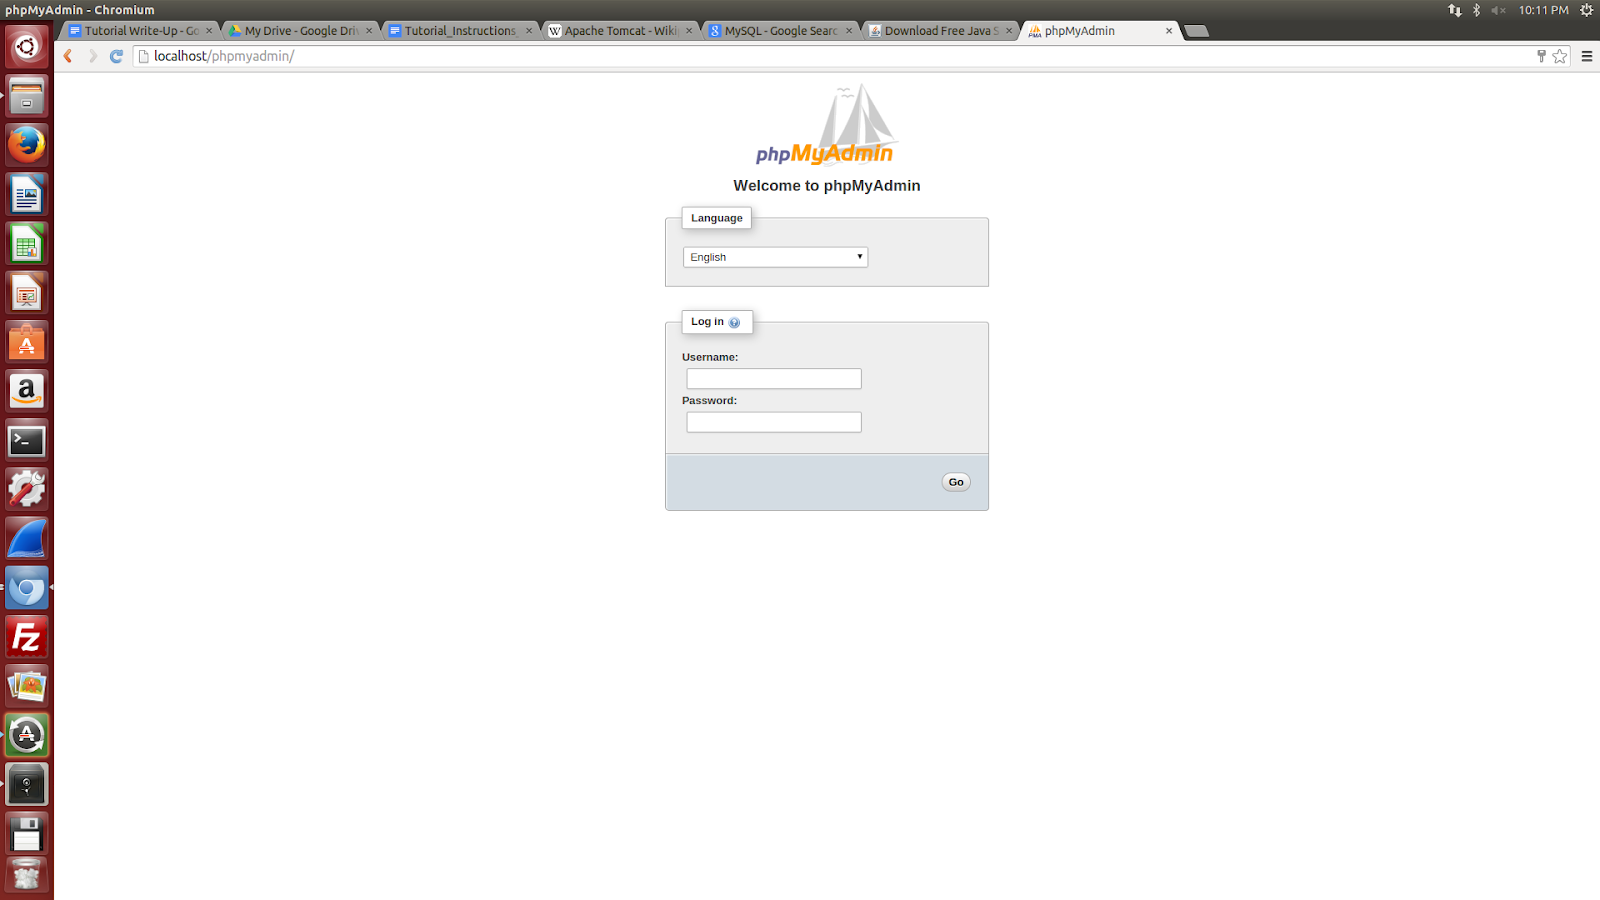
Figure 2: MySQL works!
Part 3: JSP - Connecting to MySQL
You have now created a foundation upon which you can build a successful webpage! In order to understand how a simple JSP page works, you can start by creating a very simple JSP page of your own. Open up a new file in a simple text editor. Gedit comes with Linux and is a simple choice! As discussed earlier, JSP pages are used on HTML pages to add additional functionality. You can see some of this functionality by playing around with a simple HTML page.
<html><body><p>Hello World!</p></body></html>
This file looks a lot like a standard HTML file for sure! Save the file as hello.jsp in the /var/lib/tomcat6/webapps/ROOT directory. The page is simple - see Figure 3.

Figure 3: hello.jsp
You want to turn this simple html page into a dynamic html page! This can be done by utilizing JSP’s functionality for MySQL databases. When you saved the file as a .jsp file, it gave it access to use Java on your webpage. Whenever you’d like to use Java code, embed it in <% [Java code] %> tags. Page imports are done using <%@ [import statement] %>. This can give a lot of flexibility to your webpage!
In order to run MySQL queries on your webpage, your page must import a few java utilities, then set up some Connection variables. Right after your <html> tag on your webpage, add these lines of code:
<%@ page import="java.util.*" %>
<%@ page import="javax.sql.*" %>
This will import the necessary drivers that Java has on hand to deal with SQL queries. Next, we’ll need to add some lines of code that will hold both the information to retrieve and the information to connect to the MySQL database:
<%
java.sql.Connection con;
java.sql.Statement s;
java.sql.ResultSet rs;
String url = "jdbc:mysql://localhost:3306/it210b";
String id = "root";
String pass = "[your MySQL password]";
Class.forName("com.mysql.jdbc.Driver");
%>
Finally, call the methods that are held in the java.sql library that allow connection to the MySQL database:
<%
try {
con = java.sql.DriverManager.getConnection(url, id, pass);
s = con.createStatement();
rs = s.executeQuery("SELECT * FROM text");
while(rs.next()) {
out.print(rs.getString(0));
}
con.close();
} catch(Exception e) {
out.print(e);
}%>
Taking a closer look at the code, we can see on the most outside level that we are trying to make the connection. If that doesn’t work, we’ll print out the error to the user. If there’s no error, a connection will be made with the database, and then an SQL query will be executed to select all of the information from the table “text”. It will then print out the information in the first column of the text table for every row in the table. In this case, the table only includes one row with one column that has the text “Hello World!”.
Save and open hello.js with your favorite webbrowser. Congratulations, a connection with MySQL has been made!
Figure 4: MySQL query complete! hello.jsp
Additional Resources
Here are some resources to websites you might find helpful:
http://www.jsptut.com/ - This is a website that contains a TON of helpful resources for learning basic JSP. Whether you’re new to Java or a veteran, there’s interesting information here that will help you out exponentially.
http://dev.mysql.com/doc/refman/5.6/en/examples.html - MySQL queries can be confusing and difficult sometimes. This is a helpful sheet of examples for basic SQL queries you will use often.
http://www.mulesoft.com/tcat/tomcat-60 - Sometimes there are problems with installing Tomcat6. This website is very helpful for making sure your installation works properly and fixing any mistakes you may have made
http://www.siteground.com/tutorials/phpmyadmin/ - phpmyadmin is a very effective tool for managing your MySQL database - this site is very helpful in figuring out its ins and outs!
No comments:
Post a Comment